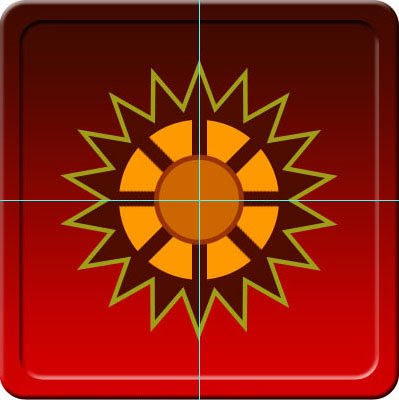
Final result of the icon.
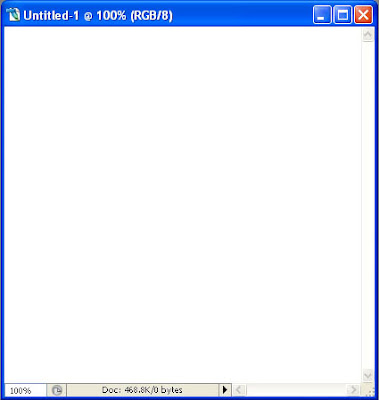
Open a document 400×400 px with white background selected.
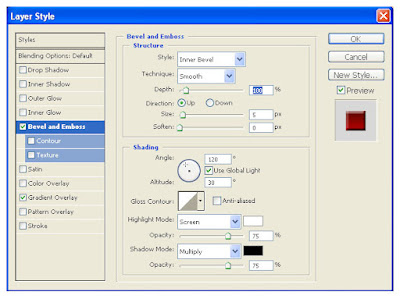
Create an New layer named ‘frame’. Draw a rounded rectangle by selecting from the tool menu with 25px radius.
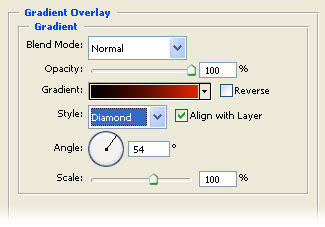
Apply gradient with the following values.
Duplicate the frame layer.
Copy the effects and apply it on the second layer Frame copy.
Now lets create a star by selecting the polygon tool and change the settings to following.
Duplicate the layer and transform it by 110%. Dont forget to lock the X and Y axis. Give a yellow color to differentiate from other layers.
Now we have to make some modification to these shapes. If you know how to make the shape, you can skip this steps. Or you can download it from here.
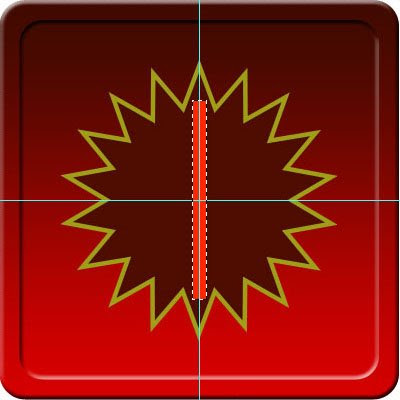
To make spokes we have to subtract some part from the star polygons. to do that just follow the following steps.
Draw a vertical rectangle of 15 x 200. enter the value by selecting the fixed size.
Align all the layers to center. Find the center of the canvas and draw guides.Click the marquee tool and place it in the center.
Fill it with a color and name it ’spoke’.
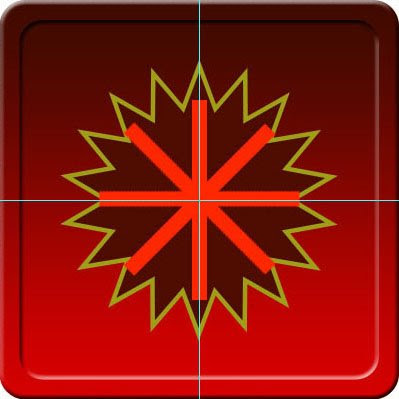
Duplicate the spoke layer. Now transform the spoke copy layer by 45 degree.
Repeat the same 2 more times so that it covers the complete cycle.
Select all the spoke layers and merge it (Ctrl+E). Rasterize all the layers except the frame layers.
Next select the ellipse tool and draw a circle of 160, 90 and 80 radius. (see settings for 90 ellipse)
Now select the 160 layer and hit ctrl click the spoke layer so that the layer becomes selected.
Now press delete.
Next select the inner star layer and ctrl click the 160 layer and hit delete as before. Repeat the same for outer star layer too.
The final result should be like this
Giving effect to the layers
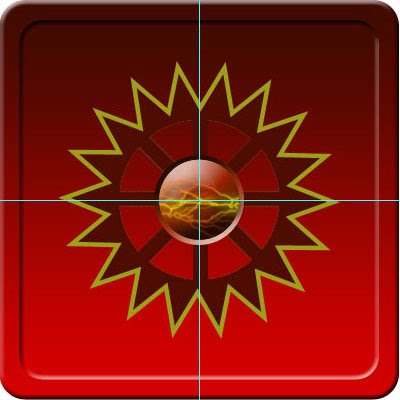
Lets start giving some effect from the center layer.
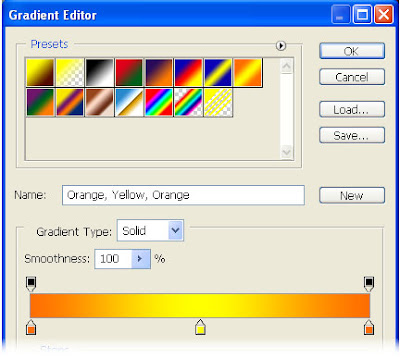
To make a fire and heat effect I have used a lightning effect brush. Download the brush from here . Put a yellow brush color #ffff00. Lets give some drop shadow for the lightning. Change the distance to 5 and size 5 in the layer stlye. Apply default yellow orange yellow gradient from the gradient library.
Now for the 80 ellipse fill it with #9c2101 color. Apply bevel of 30.
Copy the layer effect and paste it for the 90 ellipse also. Now change the bevel effect and change the direction to down in the settings.
For the inner star apply the same layer style settings to get the bevel effect. Next apply Bevel> Satin Gradient overlay.
Get a fire image. I have used this image. Select the outer gear and hit by holding the control. Paste the picture into the mask (shift+ctrl+v). Apply Drop shadow, Outer Glow, Bevel and emboss.
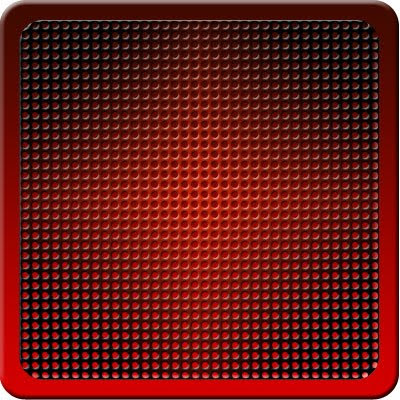
For the background mesh, lets do the following settings. Take a canvas of 10 x 10 px. Create a new layer and fill it with a color. Make an ellipse of 6 pix and hit delete so that the center becomes transparent.
Select all ctrl+ A and goto the edit menu and select define pattern. Name the pattern as mesh background. Come back to the main canvas and select the frame inner layer and hit with ctrl pressed. Now go to the edit menu and fill it with the pattern. Apply the following settings
Bevel and Emboss - Inner bevel > size 2
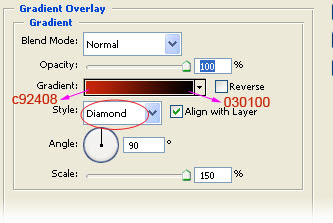
Gradient overlay > diamond stlye.
Now the background mesh is ready.
Applying effects to Stars
For the center small star change the layer style effect change the following. Apply Satin change the values and click the half round default contour effect.
Apply bevel, size 2 and same gradient of the mesh with diamond style.
Now for the bigger star which is in yellow color lets fill it up with an image. First select the layer and Ctrl click the layer. I have used a fire photo from here. Open the picture in a new window , copy it ( ctrl+A > ctrl+c) and Paste Into (ctrl+ shift+v) the star.
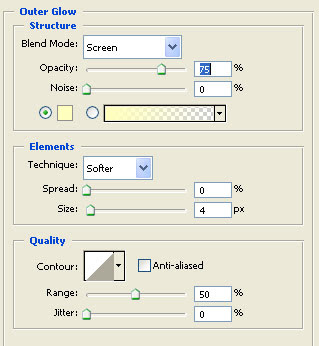
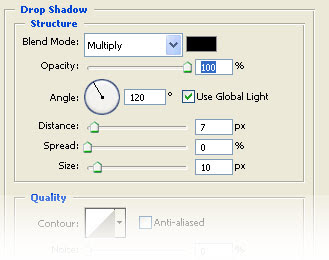
Now change the layer effect setting for Bevel, Outer Glow and Drop shadow to the following values.
Now u can add some more effect by using the smudge tool and create a burning effect like this.




















0 Comments:
Post a Comment