This tutorial will teach you how to make a realistic wine glass by stretching 1 pixel in 10 steps.
Final image after stretching 1 pixel
Open a document 400×400.
The gradient which i have used for this tutorial is available here.
Place the image on the canvas.
Stretch it vertically using transform tool right click or crtl+T.
On the menu now use warp. Duplicate this in 4 layers.
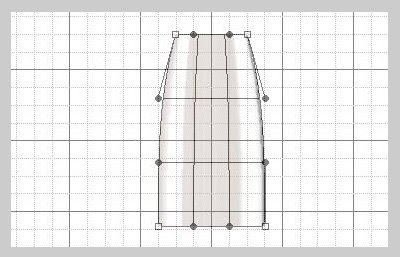
Now its time to shape it up. Use the grid (ctrl+’) for better shaping.
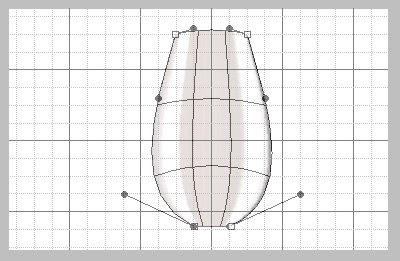
Follow the steps for the bottom part as you did for the top part.
From the lower part select one pixel or use the duplicate of the first 1 pixel image.
Repeat the same for shaping as you did for the top part of the glass.
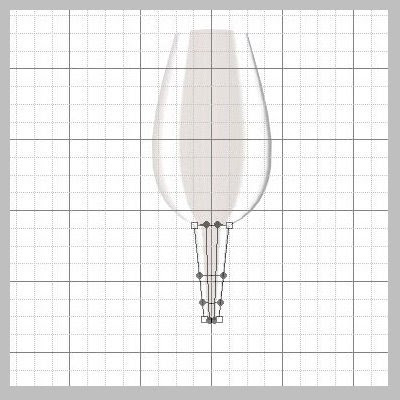
For the bottom part use transform > perspective, to give a slope.
The lowest part use some curve as shown below.
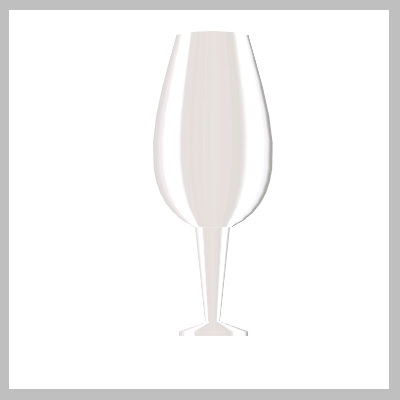
Now you have got the wine glass ready.
To give some life to it, lets pour some wine to it.
Cut lower part of the glass using rectangular marquee as shown below. Make a new layer and paste it. Align it to the bottom of the top part.
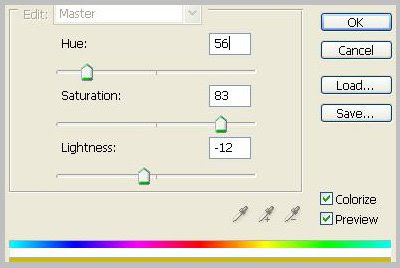
Change the hue to the following. Dont forget to check the colorize box (adjust till it becomes the wine color)
Take the darkest color from the glass corner, and apply to background color.
Go to filters > glass. Make the settings to
Frost / distortion 1 and smoothness to 1.
The final results will be like this. I have applied some drop shadow and a table cloth and a reflection.




0 Comments:
Post a Comment