

In this Photoshop tutorial, we are going to create a wood background. We are going to create the wood from scratch and turn it into a pattern. Then we will finish it off by adding some lighting and texture effects.
What you’ll need:
Adobe Photoshop
Texture
Step 1
Create a new document in Photoshop. You can make your document pretty much any size you want depending on how you are going to use it. I’m going to make mine 1680×1050 at 72 pixels/inch so I can use it as a background wallpaper.

Step 2
Now we are going to create our first board. To do this click on the marquee tool, then at the top, in the options bar, change the style to fixed size. Change the size to 90×325px and click on your document. This will create a box the exact size we specified.

Step 3
Lets fill our box with a brown color. It doesn’t have to be the same exact brown I am using, just something that would be a good base wood color.
Create a new layer (Control + Shift + N) and fill the box with the brown we picked.

Step 4
To get the grain of the wood, we are going to Control + click on the board layer to select it. Create a new layer (Control + Shift + N) and fill it with black.

Step 5
Go to Filter>Render>Fibers. Play around with the Variance and Strength until you get something like what I have. Since the fibers are randomized, yours probably isn’t going to look exactly like mine, but get something where there is some contrast.

Step 6
Deselect the box Control + D. Go to Filter>Blur>Motion Blur. Change the distance to 345px.

Step 7
Make sure you are on the fiber layer we just made, then Control and click on the board layer. Do Control + Shift + I to get the inverse selection and delete the fiber area that is outside of the board.
Change the blend mode to Overlay and change the opacity to 30%.

Step 8
Now we are going to add some styles to our board layer.
First go into the inner shadow. This is going to give us a little more depth to the board.
Second, we are going to add a bevel and emboss. This will give it a slight 3D look and help to make it pop. The contour will make the bevel a little sharper.

Step 9
Now we don’t want every board to be the same so we are going to create another one by repeating steps 3 through 8. This board will be different because when we create the fibers in step 5, the fibers always come out different, which will give us different grains in the wood.
We’ll only do two different boards to keep our pattern fairly simple.

Step 10
Fill the background layer with black so that when we put our boards together, if there is any spaces in between boards, white won’t show through.
Before we go any further we want to make sure that the boards and their grain are in two folders “board 1” and “board 2”.
Now to start creating the patterns we are going to click on the “board 1” folder. Do Control + T to get the transform box around the board.
Click and drag guides so the go through the middle plains as well as on each edge of the board.
Click on the “board 2” folder and do Control + T. This will put the box around it. Like the top of the box with the middle guide of “board 1”. Line up “board 2” so the top aligns with the horizontal middle and left guides.

Step 11
We are going to duplicate “board 2” by right clicking on the folder and doing “Duplicate Layer Set”. Bring that new board, “board 3” over to the right side of “board 1”.

Step 12
We are going to add guides to boards 3 and 4 like we did in step 10.
Now we are going to duplicate “board 1” and move it down so the top is touching the bottom of the original “board 1”.
We are going to do the same thing with boards 2 and 3 except we are going to move them up.
You should end up with 6 boards, and something like I have below.

Step 13
I am going to add some nails to our boards, to give it more of a real look. The reason why I’m doing it now and not when we first made them is because this way we can set them up slightly differently on each one so they aren’t all on the same spot on every board and it isn’t as obvious that it is a pattern.
Start off by clicking on the Circular Marquee tool. Change the style to fixed size and then make the size 7×7px. Fill with a dark gray color.
Go into the layer styles then click on the drop shadow. Change the settings as I have them.
Now go into bevel and emboss and change the settings like I have them. This should give you the look of a nail in the wood.
Now you can duplicate it with Control + J and put two on the ends of each board.

Step 14
Now we are going to merge all of the boards so we can turn them into a pattern.
First click on the eye to the left of the background layer. Now click on the arrow on the top right of the layers palette and go to merge visible.
Click on the eye to the left of the background layer to show the background again.

Step 15
To get the pattern click on the square marquee tool and make sure the style is normal. Make a box along the guides as I have.
Go to Edit>Define Pattern. Rename the pattern “Wood”.

Step 16
We can click and drag our board layer to the trash. Then go to View and clear guides.
Create a new layer called “boards”. Click on the pattern tool, select the patter we made, and paint the entire area.
If you don’t see the pattern tool, it will be under the clone tool in the tool bar.

Step 17
Now we have our seamless wood pattern we can add some effects to it to make more interesting.
Using the circular marquee tool change the feather to 100px in the options bar at the top, then create a circle the same size as the document. Holding down shift use the up arrow to move the middle of the circle to the top of the document, so just the bottom half of the circle is showing. Fill with an orange color.

Step 18
With the marquee still selected, do Control + Shift + I to get the inverse selection and move it down towards the bottom. Create a new layer and fill with black.
You’ll probably have a line at the top of the black that we don’t want. To get rid of this we are going to go to Filter>Blur>Gaussian Blur and change the radius to 35px.

Step 19
Using the circular marquee tool again, with the 100px feather make a smaller circle with the top half above the top of the document. Fill with white. Change the blend mode to Overlay.

Step 20
Repeat step 19 with a smaller circle at 50% opacity.

Step 21
We are going to go in and change our levels to give our image more of a contrast.

Step 22
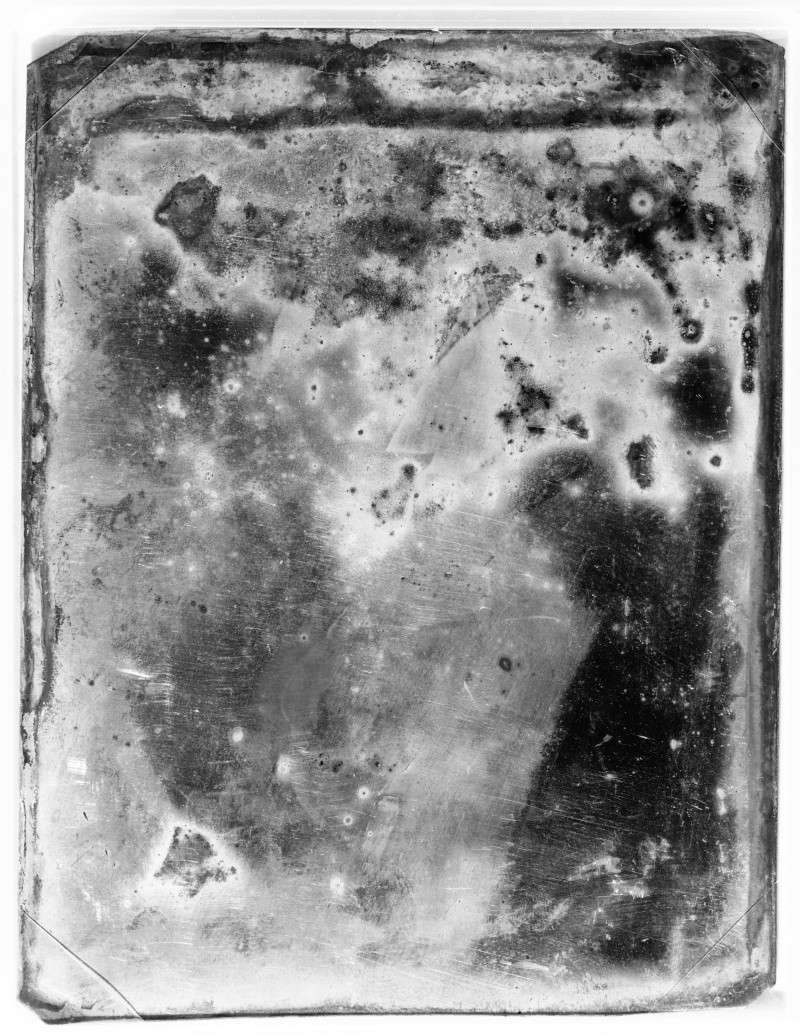
Let’s go in and put a texture in. I’m going to go to Zen Textures to get this film texture.
Using Control + T, shrink it down to size.
Change the blend mode to Overlay at 40%.

Step 23
Finally we are going to reduce the saturation. Go into Hue/Saturation and change the saturation to -15.

Final
There we have it a wood design that can be used as a desktop wallpaper, background for your website or whatever else.

0 Comments:
Post a Comment